A restroom can look clean at a glance and still fail the people who use it. An empty soap dispenser, a contaminated touchpoint, poor odor control, or an incomplete cleaning log can quickly become a safety, compliance, and reputation issue. This commercial restroom sanitation checklist gives facility teams a disciplined framework for cleaning, disinfecting, stocking, inspecting, and documenting restroom conditions across commercial and institutional environments.
Thank you for reading this post, don't forget to subscribe!Start With a Defined Restroom Standard
A sanitation checklist works only when employees understand what “complete” means. For a small office, that may mean clean fixtures, stocked supplies, dry floors, and a signed service log. In a healthcare, aviation, government, manufacturing, or military environment, the standard may also include isolation procedures, approved disinfectant use, incident escalation, and traceable documentation.
Define the scope before assigning the work. Identify every restroom, the fixture count, high-touch surfaces, peak traffic periods, and any site-specific requirements. A public terminal restroom needs a different service frequency than a low-traffic administrative restroom. The right frequency depends on occupancy, shift schedules, contamination risk, and the consequences of a missed service.
Cleaning teams should also know which products are authorized for each surface. A disinfectant is not automatically appropriate for every material, and using a product outside its label directions can create safety concerns or damage finishes. Keep Safety Data Sheets, technical specifications, dilution instructions, and applicable approval documentation accessible to staff.
Commercial Restroom Sanitation Checklist: Before Cleaning
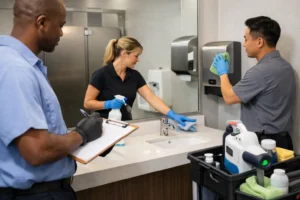
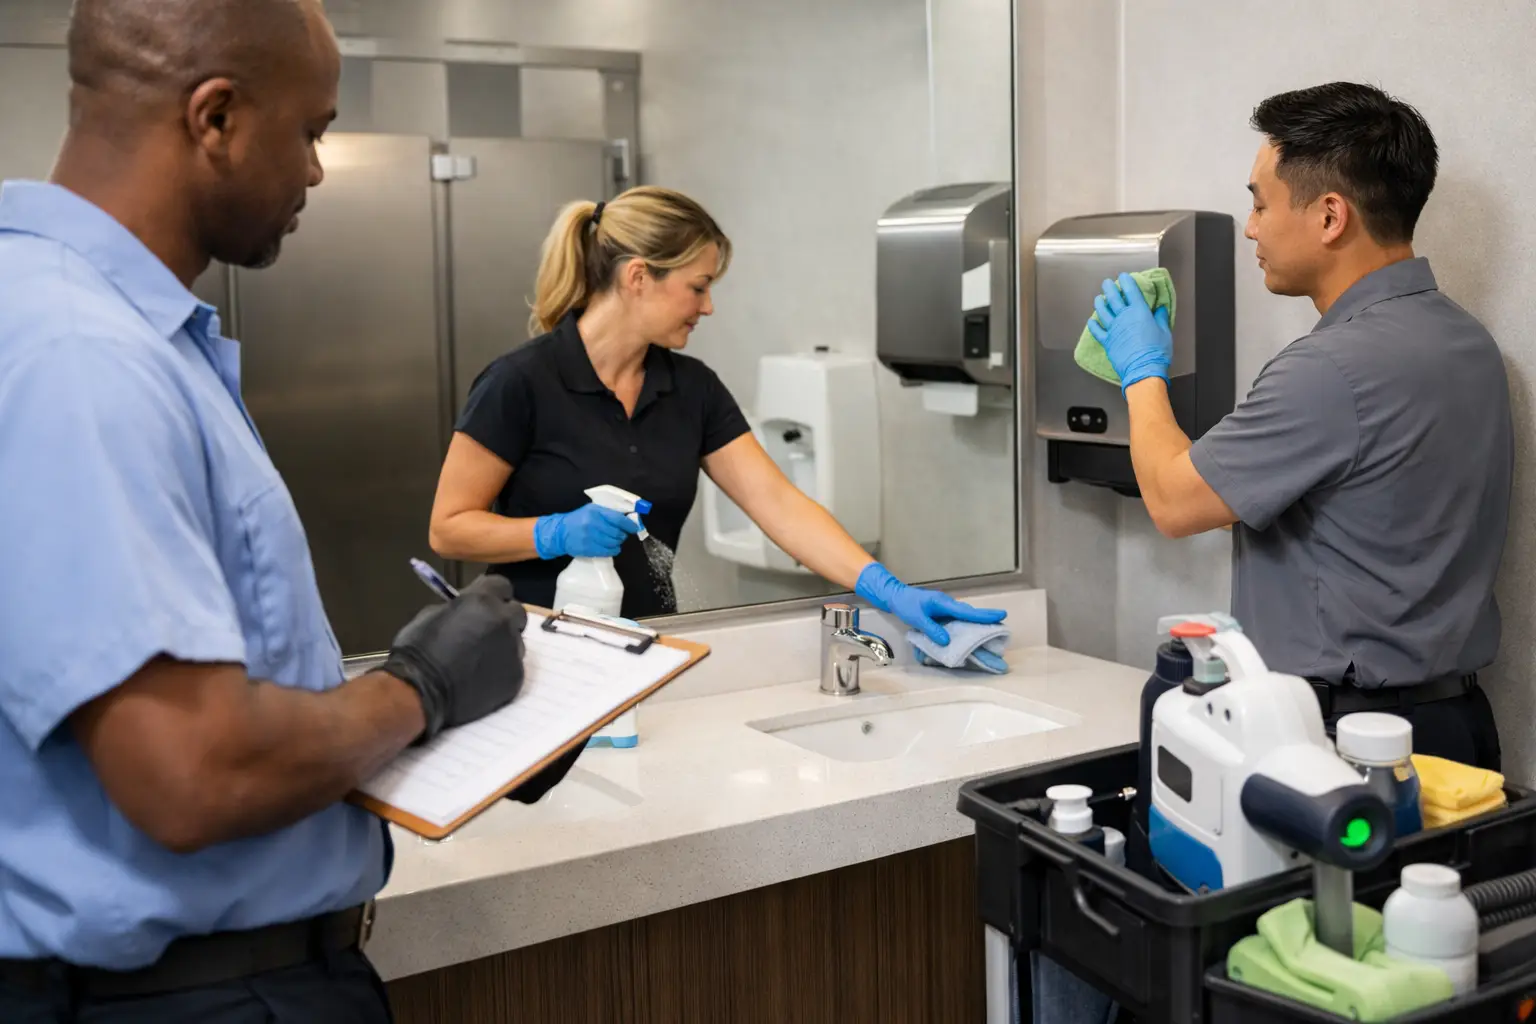
Preparation protects both the cleaning professional and the people entering the area. Begin by posting wet-floor signs and, when conditions require it, temporarily closing the restroom or individual fixture area. Inspect the room for sharps, bodily fluid contamination, vandalism, leaks, overflowing waste, damaged dispensers, or unsafe floor conditions before routine work begins.
Use the required personal protective equipment for the task and facility policy. At minimum, this often includes gloves, with additional protection based on chemical handling, splash risk, or contamination conditions. Replace gloves between heavily contaminated tasks and clean-to-dirty zones. Gloves reduce exposure, but they can also spread contamination when employees touch door handles, carts, or supply containers without changing them.
Before cleaning, confirm that the cart is organized and stocked with correctly labeled chemicals, clean cloths or wipes, liners, paper products, soap, sanitizer where provided, and replacement dispenser components if needed. Color-coded tools can reduce cross-contamination when consistently assigned to restroom use only.
Clean First, Then Disinfect
This order is non-negotiable: remove visible soil before applying disinfectant. Dirt, residue, and organic material can prevent the disinfectant from reaching the surface effectively. Apply the cleaner according to its instructions, physically remove soil, and then use the approved disinfectant at the required dilution and contact time.
Contact time is frequently missed during rushed restroom servicing. A surface must remain visibly wet for the full label-required period to achieve the product’s stated disinfection claim. Wiping a surface dry immediately after application may undermine the process. Train teams to read product labels and understand that dwell time, dilution, and surface compatibility are operational controls, not optional details.
Clean from high to low and from less contaminated to more contaminated areas. Start with mirrors, dispensers, counters, partitions, and ledges. Move next to sinks and faucets, then toilets and urinals. Floors are generally addressed last. Use fresh cloths or wipes as needed rather than carrying contamination from one fixture to another.
High-Touch Surfaces That Need Consistent Attention
High-touch points are where sanitation quality is most visible to occupants and most likely to affect confidence in the facility. Include these surfaces in every routine service:
- Entry and exit door handles, push plates, locks, and accessible hardware
- Faucet handles, sink rims, soap dispensers, hand dryer buttons, and paper towel dispensers
- Toilet flush handles or sensors, urinal flush controls, stall locks, grab bars, and partition doors
- Baby changing stations, waste receptacle lids, vending controls, and accessible call buttons where installed
Do not overlook touchpoints outside the restroom door. Nearby handles, vestibule surfaces, and adjacent drinking fountain controls may belong in the route depending on the facility layout and assigned cleaning responsibilities.
Service Fixtures, Floors, and Waste Correctly
Restroom fixtures should be visibly clean, odor-controlled, and functional. Remove waste, replace liners, and inspect receptacles for leakage or damage. Empty feminine hygiene receptacles according to the site’s service schedule and disposal protocol. Never compress waste by hand or overfill collection bags.
Clean toilets, urinals, and surrounding surfaces using dedicated restroom tools. Pay attention to bases, hinges, underside edges, splash zones, grout lines, and floor-wall junctions. These are common odor and soil retention points. For recurring odor, determine the cause rather than masking it with fragrance. Urine scale, drain issues, poor ventilation, standing water, and missed cleaning zones require different corrective actions.
Floors need more than a quick pass with a mop. Remove debris first, then clean using the approved method and product. Use sufficient solution to address soil without leaving excessive water behind. Wet floors increase slip risk, while residue from incorrect dilution can leave floors tacky and attract additional dirt. Inspect corners, behind fixtures, and under sinks before removing warning signage.
Restock for the Next User, Not the Current Inspection
A restroom should leave service ready for the next demand period. Refill soap, paper towels, tissue, seat covers, hand sanitizer, and other approved consumables before they run low. Check that dispensers operate correctly and that towels dispense without tearing or jamming.
This is not simply a customer-service detail. Hand hygiene depends on reliable access to soap, water, and drying materials. Stockouts can also generate avoidable service calls, complaints, and negative inspection findings. High-traffic sites often benefit from established par levels and scheduled replenishment rather than relying solely on visual estimates.
Inspect, Document, and Escalate
The final inspection should be separate from the act of cleaning. Step back and assess the restroom as an occupant would. Check for odors, visible soil, streaked mirrors, standing water, low stock, damaged fixtures, and unsecured waste. Confirm that floors are dry enough for safe access and that cleaning tools and chemicals have been removed from public areas.
Document completion using the facility’s required log, digital work order system, or inspection form. At a minimum, capture the date, time, location, employee or team identifier, and any exceptions found. For higher-compliance facilities, documentation may need to record the products used, dilution verification, corrective action, supervisor review, or incident details.
Escalate conditions that routine cleaning cannot correct. Examples include persistent leaks, clogged fixtures, broken locks, pest activity, mold-like growth, damaged flooring, exposed sharp objects, bodily fluid incidents, and repeated dispenser failures. A checklist should make escalation easy by identifying who receives the report, how urgently it must be sent, and whether the restroom should be restricted until resolved.
Set Frequencies Based on Risk and Traffic
Daily cleaning is a baseline, not a universal answer. Public-facing restrooms may require multiple checks per shift, while high-traffic locations may need continuous attendant coverage or rapid-response service. Manufacturing facilities may need special attention around shift changes. Government and secure facilities may require controlled access and defined documentation procedures.
Use service data to adjust the schedule. Repeated supply shortages, complaints, odor reports, or wet-floor events are signals that the route, staffing level, product selection, or inspection process needs correction. The goal is not to add tasks for appearance. It is to direct labor and supplies where they reduce actual operational risk.
Veteran Commercial Cleaning supports facilities that need institutional-grade cleaning chemistry and a procurement-ready approach to sanitation documentation. Whether a team manages one building or a nationwide portfolio, standardized processes help make restroom quality repeatable rather than dependent on who happens to be assigned that day.
A well-run restroom program is rarely noticed when it works. That is the standard worth pursuing: a clean, stocked, safe space that supports every occupant without creating an interruption, complaint, or compliance concern.