A public restroom can look clean and still present a sanitation risk. High-touch fixtures, moisture, frequent turnover, and inconsistent cleaning methods create conditions where contamination can spread quickly. Effective restroom disinfection steps for public buildings must be built around a repeatable process, trained personnel, documented products, and enough time for disinfectants to work as labeled.
Thank you for reading this post, don't forget to subscribe!For facilities managers, environmental services leaders, and procurement teams, the goal is not simply a better appearance. It is a restroom program that protects occupants, supports workplace safety, withstands inspection, and keeps the facility operational during peak traffic.
Restroom Disinfection Steps for Public Buildings: The Operating Standard
A reliable program separates cleaning from disinfecting. Cleaning removes visible soil, scale, residue, and organic matter. Disinfection uses an appropriate registered disinfectant to reduce targeted microorganisms on hard, nonporous surfaces when used according to its label. Applying disinfectant over dirty surfaces can limit performance, waste product, and leave staff with a false sense of completion.
The sequence below gives public buildings a defensible operating standard. It can be adjusted for airports, government offices, healthcare settings, manufacturing sites, schools, and other facilities based on traffic volume, occupant needs, and site-specific requirements.
1. Prepare the area and protect the technician
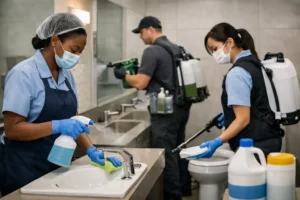
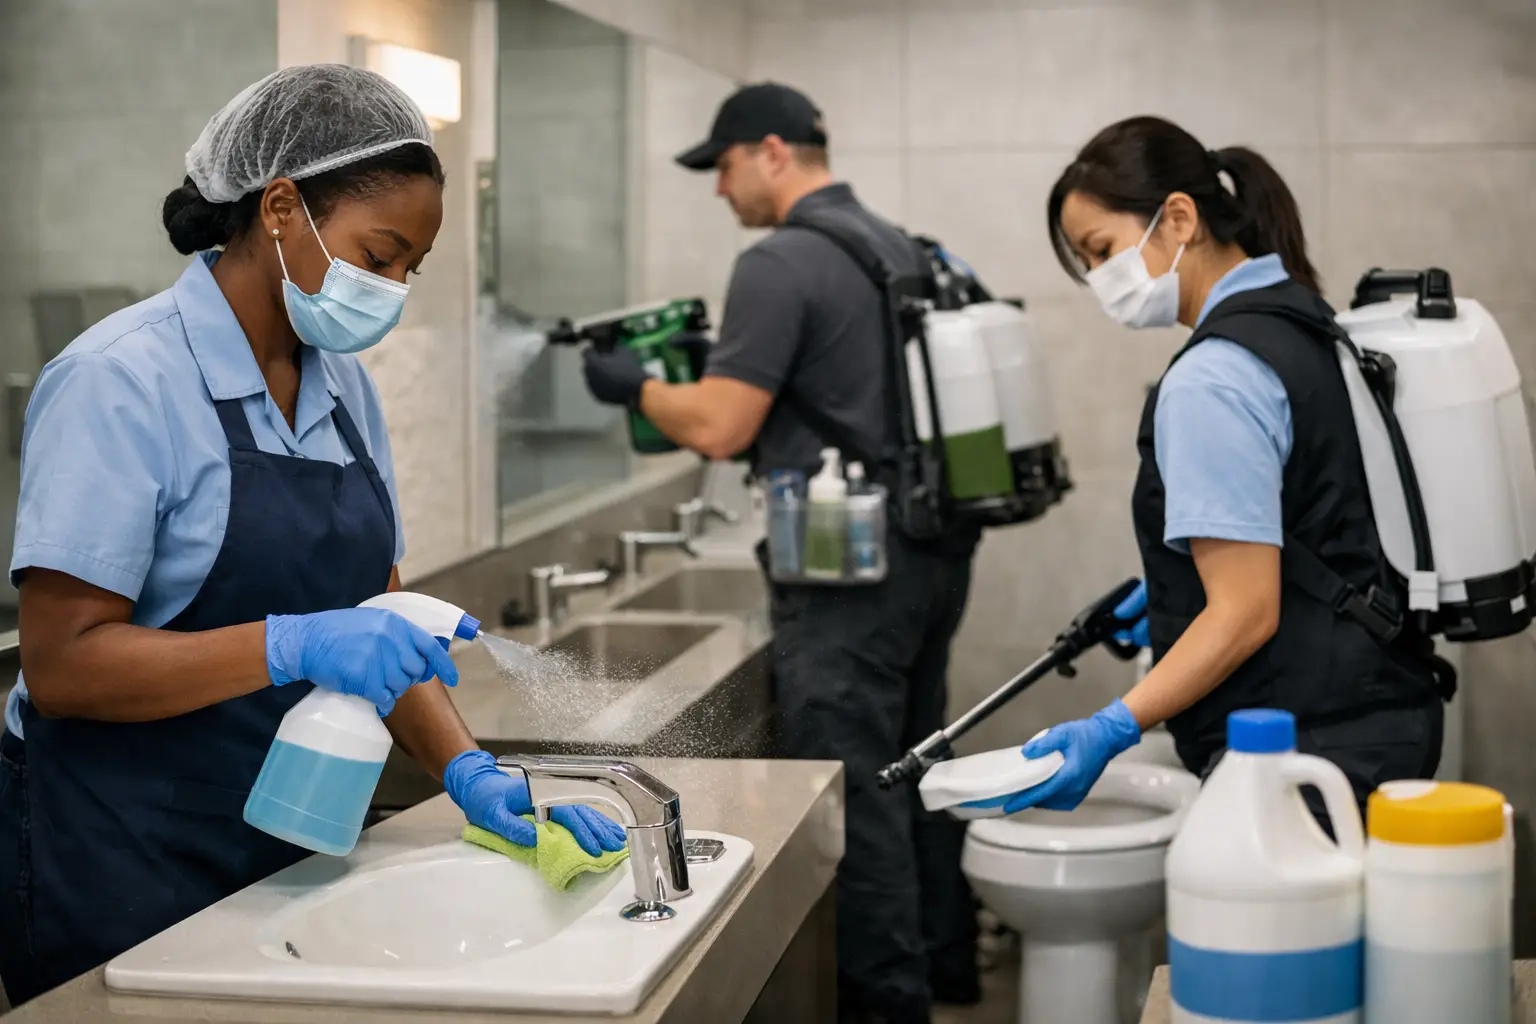
Before cleaning begins, place wet-floor signage at all entrances and assess the restroom for immediate hazards. Broken dispensers, leaking fixtures, sharps, bodily fluids, and overflowing waste require attention before routine work proceeds. Technicians should wear task-appropriate personal protective equipment, typically gloves and eye protection where splash risk exists. Additional protection may be required by the facility hazard assessment and the product safety data sheet.
Ventilation matters. Restrooms are enclosed, humid spaces, and chemical use in poorly ventilated areas can affect both worker comfort and safety. Keep exhaust systems operating where available and follow label instructions regarding ventilation, dilution, and incompatible chemicals. Never mix cleaning chemicals. In particular, products containing bleach, acids, or ammonia can create serious hazards when combined.
Preparation should also include stocking the cart with clean microfiber cloths, dedicated restroom tools, liners, neutral cleaner or other appropriate soil-removal chemistry, and the selected disinfectant. Color-coding cloths and tools helps prevent a toilet-area cloth from being used on a sink, counter, or dispenser.
2. Remove trash and replenish supplies first
Remove waste carefully, replace liners, and inspect receptacles for leakage or damage. Emptying trash early reduces obstacles and prevents workers from touching clean fixtures after handling waste. Refill soap, hand sanitizer where provided, paper products, tissue, and feminine hygiene supplies before the final inspection.
This step is operationally important. A restroom without soap or drying materials can undermine hand hygiene even when fixtures have been disinfected correctly. A well-run disinfection program accounts for the occupant experience, not only the surfaces being treated.
3. Clean from high to low and from cleaner areas to dirtier areas
Start with mirrors, dispensers, door hardware, partitions, counters, sinks, and faucet handles. Remove soil, fingerprints, soap buildup, and mineral deposits using a product appropriate for the surface. Then move to urinals, toilets, flush handles or sensors, and exterior fixture surfaces. Finish with floors and drains.
This order reduces cross-contamination and avoids dropping debris onto surfaces that have already been addressed. Do not overlook less obvious touchpoints such as stall latches, grab bars, baby changing stations, light switches, air dryer buttons, faucet controls, and the outside and inside door handles.
For high-traffic public buildings, these high-touch surfaces often warrant a higher service frequency than floors, mirrors, or low-contact walls. The right frequency depends on use patterns. An airport concourse restroom may need repeated daytime servicing, while a controlled-access office building may need a different cadence. Traffic data, complaint logs, inspections, and supply consumption can help set realistic schedules.
4. Apply disinfectant at the required wet contact time
After surfaces are visibly clean, apply the disinfectant evenly to hard, nonporous, high-touch surfaces. The key requirement is contact time, also called dwell time. The surface must remain wet for the full period specified on the product label for the organism claims and use case that apply to the facility.
This is where many programs fail. A technician may spray a fixture and wipe it dry immediately, but that may not meet the labeled disinfection procedure. If a product requires a longer wet time, use enough solution to keep the surface wet, or reapply as needed. Staff should be trained to distinguish between a quick cleaning pass and the time required for actual disinfection.
Use products only on surfaces and materials identified on their labels. Electronics, porous surfaces, natural stone, and damaged finishes may require different methods. For food-contact or child-contact surfaces located near restroom-adjacent areas, follow the product label for any required rinse procedure.
5. Address toilets, urinals, and contamination events with dedicated controls
Toilets and urinals should be serviced with dedicated tools that do not leave the restroom. Clean exterior surfaces first, then address bowls and urinal interiors using the appropriate cleaner and brush. Disinfect high-touch exterior points, including flush controls, seats, lids, grab bars, and nearby partitions.
Bodily fluid incidents are not routine restroom cleaning. They require a defined response procedure, trained staff, proper personal protective equipment, controlled access to the area, and a disinfectant approved for the intended use. Facilities should maintain incident documentation where required by policy, contract, or regulation. Teams should also know when a spill exceeds their assigned scope and requires escalation.
6. Finish floors without spreading contamination
Floor care should be the final cleaning stage. Remove visible debris, clean around fixture bases and wall edges, then mop or mechanically scrub according to the facility’s soil load and floor type. Use clean solution and clean mop heads or pads. Reusing heavily soiled water across multiple restrooms spreads contamination rather than controlling it.
Floor disinfecting is not necessary for every routine service unless the facility’s risk assessment, product instructions, or a contamination event calls for it. In most public restrooms, focusing disinfection resources on high-touch surfaces produces a better return than indiscriminate chemical use. This is especially relevant for teams balancing safety, sustainability, labor time, and supply consumption.
7. Inspect, document, and release the restroom
Before removing warning signs, conduct a final walk-through. Confirm that fixtures are functioning, supplies are available, trash is contained, floors are dry, and no chemical residue or strong avoidable odor remains. Check that soap dispensers, faucets, flush mechanisms, and hand dryers or paper dispensers are operational. A clean restroom with an empty soap dispenser is not ready for use.
Documentation should match the facility’s compliance needs. At a minimum, maintain service schedules, product labels, safety data sheets, dilution instructions where applicable, staff training records, and inspection logs. Government, healthcare, aviation, and industrial facilities may need additional documentation based on contract specifications, infection-control plans, environmental health procedures, or internal quality systems.
Product Selection and Training Determine the Result
No process can compensate for a product used outside its labeled instructions or a technician who has not been trained on the workflow. Procurement teams should verify that disinfectants are suitable for the facility’s surfaces and intended claims, while confirming access to current safety data sheets and technical information. Concentrated products may reduce packaging and shipping volume, but they introduce dilution-control requirements. Ready-to-use formats simplify deployment but can increase storage needs in large facilities.
Environmentally responsible chemistry can support institutional cleaning goals when it is selected for the application rather than chosen on broad marketing language alone. Look for performance data, safety guidance, compatibility information, and certifications relevant to the facility’s requirements. Veteran Commercial Cleaning supports this evaluation with professional-grade cleaning solutions and documentation designed for compliance-focused environments.
Training should include more than product familiarization. Teams need to understand contact time, color-coded tool controls, chemical storage, spill escalation, hand hygiene, and inspection expectations. Supervisors should periodically observe work in the field, because the difference between a written procedure and actual practice is where sanitation programs succeed or fail.
A restroom program earns trust one visit at a time. When staff have the right process, properly documented chemistry, and time to perform each step correctly, occupants notice the result before they ever think to question the facility’s standards.